

This Solar panel tilt mounting frame has adjustable tilt legs that attach to rails clamped to one or more solar panels.
These kits are designed for installing solar panels on a tin roof, anchored to a concrete pad or bolted to a wall.
Contents
• 2 front feet 
• 2 rear legs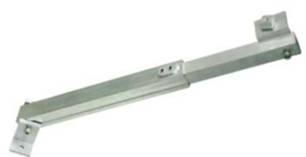
• 2 rails 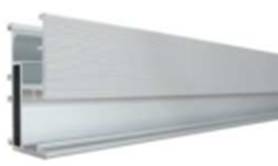
Rails are 50cm long to fit solar panels up to 45cm wide, please specify if you require a different length
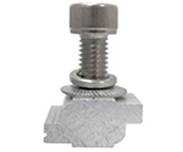
• 4 rail clamps 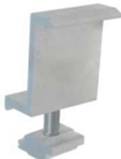
Clamps will suit 35mm frame thickness, please specify 25mm, 32mm, 40mm, 46mm or 50mm clamps for other frame thickness.
Installation tools required
• 6 mm and 4mm Allen key
• Cordless drill with drill bits
• Open-end spanner set
Mounting Rail, Cut to required length allowing 3 cm extra each end Front foot of tilt mount with Z module
Back leg of tilt mount with Z module for attaching to rail Solar panel rail clamp Z module
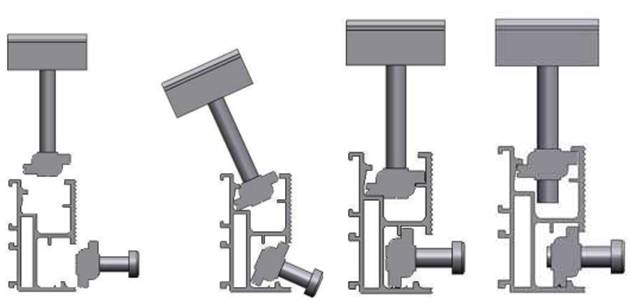
How to insert Z modules into the top and side channels of the solar panel mounting rail
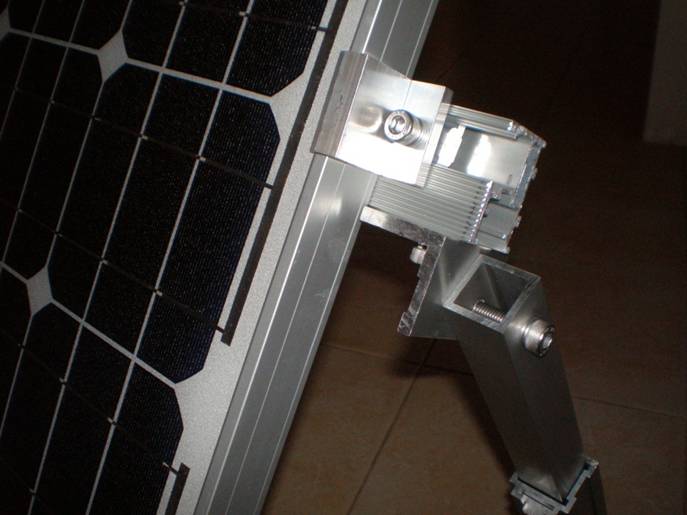
The solar panel (not shown) is held to the rail (shown in cross section) by the clamp.
The clamp’s bolt and Z –shaped nut (Z module) are inserted into one channel of the rail.
The Z modules of the tilt mount legs and feet are inserted into the other channel of the rail.
Position the Z Module loosely in the rail so it can still be freely moved in the rail channel.
Slide the screws to their final position and fasten firmly with an allen key (torque is 8 Nm).
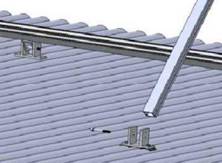
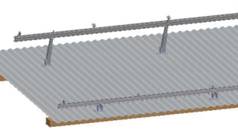
The following diagrams show tilt frames assembly on a tin roof for a row of several solar panels.
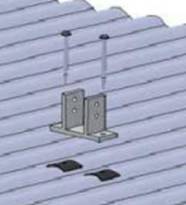
Attaching front foot to roof and then attaching the front rail
Determine the positions of the tilt feet according to your plans. Shim the feet with rubber if required.
Fix feet to wood rafters using 6 x 65mm wood screws, Use metal fixing screws for sturdy metal surfaces.
Mount parts loosely so they can be adjusted in the mounting rails then fasten completely.
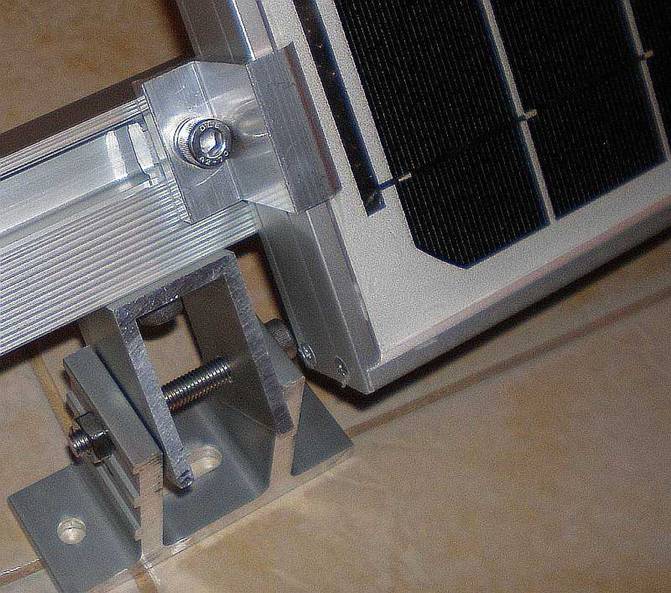
First attach the U bracket to the rail using the Z module and then bolt it to the foot mount.
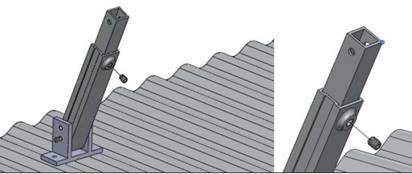

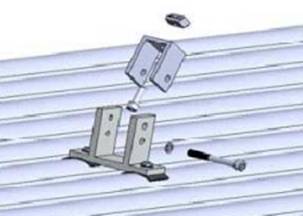
Attach the back tilt legs to the roof and the back rail
Attach the back feet to wood or steel rafters. Attach the L Bracket with the Leg to the rail using the Z module.
Then attach the legs to the feet The length can be adjusted by loosening the grub-screw with an allen key.
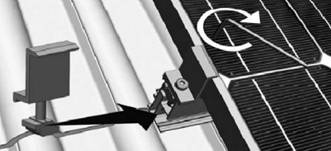
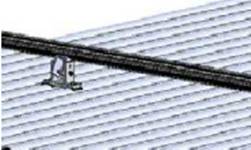
Place the solar panel in position on the rails (use rope to tie it down it so it does not slide off)
then slide the clamp into position tightly against the module and fasten tightly (recommended torque is 8 Nm)
Correct orientation of solar panels for solar lighting
When used to provide power for lighting a solar panel should be facing directly at the sun at midday during mid-winter.
Solar arrays should face north with a tilt of 50 to 60 degrees for southern regions of Australia
Example of tilt-mounting a single solar panel
When installing a single solar panel it is best to attach the bracket to the solar panel on the ground.
Place the solar panel face down on a clean flat surface
Protect the back of the solar panel during assembly as it easily damaged.
Attach the upper and lower rails to the back of the solar panel with the solar panel clamps
Now turn the solar panel over and attach the front legs to the upper rail.
Adjust the position of the rails and the lengths of the back legs to get the desired angle of tilt.
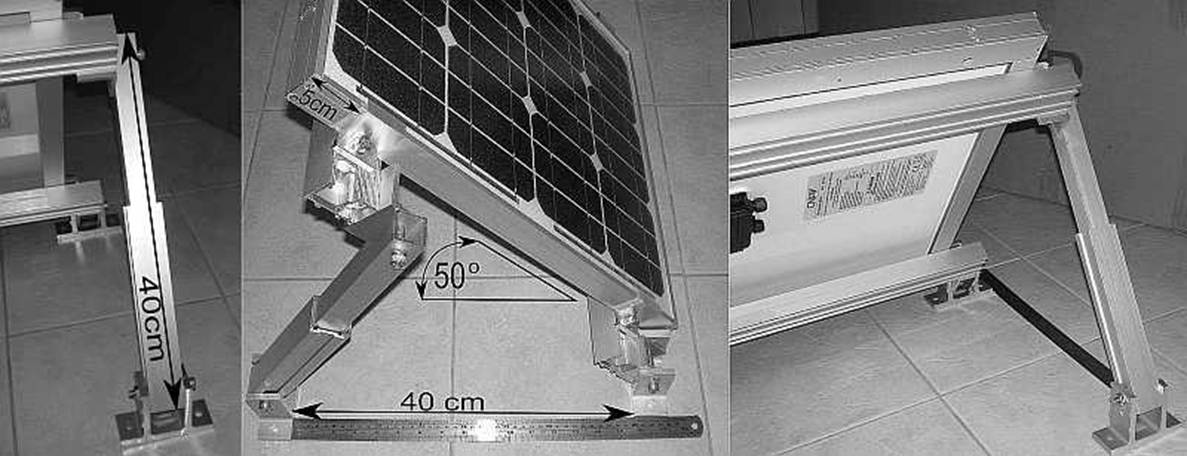
Solar panel set at 50 ⁰ angle for best performance during the winter months
Front feet attached to lower rail which is clamped to the solar panel frame
Back legs attached to upper rail which is clamped to the solar panel frame
Solar Panel Tilt Mounting Frame
- Product Code: TL10-15
- Availability: 2
-
$95.00
- Ex Tax: $86.36